

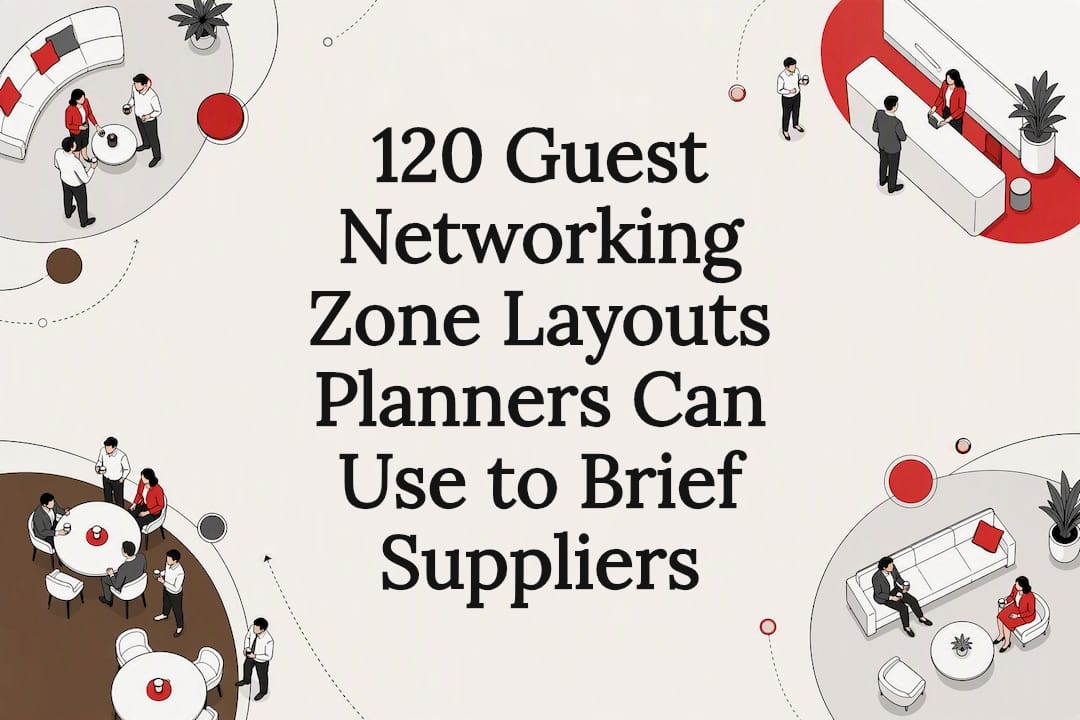
For a cocktail networking zone, favour mostly high-top clusters with distributed food islands, roughly one high-top per several guests, and clear aisles of about 36 to 48 inches (0.9 to 1.2m). Add one or two lounge pockets for longer conversations, keep the entrance clear for the first 8 to 10 feet, and set bar tables at 42 inches so people stay upright, mobile, and easy to approach. Tighten the ratio if food stations draw a crowd that lingers.
TL;DR:
- Use approximately one high-top table for every 6 to 8 guests, tightening the ratio to one per 5 if food stations cause longer lingering.
- Maintain aisle widths of 36 to 48 inches, with 42 to 48 inches preferred where guests pass with drinks, and keep at least 36 inches around each furniture cluster.
- Position the bar at the rear of the room with 8 to 10 feet of clear space in front, avoiding central placement to promote smoother traffic flow.
- Distribute food across three to four small islands rather than a single long buffet to prevent congestion and facilitate movement.
- Plan furniture layouts with anchor points, loose pod arrangements, and a circulation loop to ensure continuous guest movement and avoid dead zones.
Work backwards from headcount. For 100 guests expecting a drinks-and-canapés format, plan for a moderate number of high-tops based on a ratio of about one per 6 to 8 guests. If there is a substantial food element, such as live stations or a buffet that people gather around, reduce the guest-to-table ratio somewhat and add a few extra pieces.
Table diameter matters more than most planners assume. A 30 inch high-top suits a drinks-only crowd who need a surface for a glass and a canapé plate. A 36-inch table works better where food service is heavier, since it gives two or three guests room to set down plates without elbowing. For sizing reference across formats, see this guide to cocktail table sizes.
As a floor budget, plan for 8 to 10 square feet per guest in a standing reception. That figure, combined with your headcount and the room’s usable square footage, tells you honestly how many tables and how much aisle space you can fit before the room feels packed.
A networking floor plan lives or dies on its anchor points. These are the fixed draws, the bar, the food islands, an activation or photo moment, that pull guests across the room rather than letting them cluster near the door. Spread three or four anchors around the perimeter and mid-floor instead of parking everything against one wall.
Do not let the bar be the first thing guests see. Give arrivals 8 to 10 feet of clear decompression space before they hit any high-top or activation, so nobody feels forced into a conversation before they have taken their coat off.
Pro Tip: Walk your own floor plan before the event, literally trace the loop on paper with a pen. If your finger has to backtrack or squeeze past a chokepoint, your guests will too.
Bar-height high-tops at 42 inches are the default for a reason: standing at that height keeps posture open and conversations short and easy to exit, which is exactly what a mingling crowd needs. Mix in a handful of 36 inch counter-height tables for variety, particularly near food, where guests appreciate a slightly lower surface.
Stools deserve a careful hand. They slow people down, which is brilliant in a lounge pocket and a problem everywhere else. Keep stools out of the main mingle area entirely and reserve them for the one or two zones where you actually want guests to settle in.
Lounge clusters should sit apart from the high-top pods, built around a sofa, two armchairs, and a coffee table, seating four to six people per pocket for deeper conversation. Browsing options for these pockets is worth doing early, since networking lounge furniture shapes how long people stay in a given corner.
For a full breakdown of table types and when to use each, this guide to cocktail furniture for networking events is worth a read before you finalise your order.
Brightness contrast does real work here. Brighter, more evenly lit zones encourage people to keep moving and scanning the room, while dimmer, warmer pockets around lounge seating signal “settle in, stay a while.” Use that contrast deliberately rather than lighting the whole floor to one flat level.
Acoustics matter as much as light. Hard floors and bare walls near a bar create a wall of noise that pushes conversations to shout level within twenty minutes. Break it up with soft furnishings, rugs under lounge pockets, or fabric backdrops, and keep background music at a level where two people standing a foot apart can still hear each other.

Use one strong visual focal point, a branded backdrop or a striking floral moment, to draw eyes and feet toward an under-used corner rather than creating another queue at the bar. Position sponsor branding along the loop path, not at a dead end, so it earns visibility without becoming a bottleneck.
At 120 guests, the one-per-six rule gives you 20 high-top tables. Split them into loose pods of two or three around the room rather than one long grid. Add two lounge pockets seating around 12 people each, positioned away from the main traffic loop so quieter conversations do not get interrupted by passing traffic.

Distribute food across three to four islands rather than one buffet line; this alone prevents the single biggest source of congestion in a 120-guest event. Position the bar towards the rear of the room, never facing the entrance, and keep a 1.2m clear service gap around it at all times for staff and guest flow.
Run this checklist against your own plan before you send it to a venue or supplier:
Scale this up or down proportionally; below 80 guests, tighten aisle widths slightly to avoid a sparse, echoey feel, and above 200, add a second bar rather than stretching one service point across the whole room.
Your floor plan is only as good as the load-in plan behind it. Staff and service lanes need a minimum width separate from guest circulation, typically wider than your guest aisles, since crew are moving trays and equipment, not just themselves.
If you are running back-to-back events in the same venue, budget time and cost for a same-venue turnover, this typically carries its own fee structure and needs a clear handover window agreed with the venue in advance. Confirm your delivery and setup window early, particularly if you need after-hours or night-shift access, since pricing and setup fees vary by time slot and order size.
A reliable supplier is the practical route from a floor plan sketch to furniture actually on site, without weeks of back-and-forth quoting. The inventory covers high-tops, bar counters, lounge sofas, coffee and side tables, barstools, and chairs, all drawn from real stock rather than a catalogue of items that may or may not be available on your date.

Briefing is straightforward: share your headcount, whether the format leans drinks-only or food-heavy, any venue constraints such as low ceilings or narrow doorways, and your F&B plan. That is enough for a team to recommend a table count and mix that matches the ratios covered above, rather than a generic package.
Browse cocktail and bar tables and counters for your high-top pods, add sofas and love seats for your lounge pockets, and round out the floor with coffee and side tables and barstools where they belong. Events Partner’s Partner™ platform lets you browse the full range and request a quotation directly, so your floor plan and your furniture order can move in step. Start by listing your headcount and format, then request a quote through Partner™ to get a table count matched to your room.
The table ratios and spacing figures in this piece draw on established event-planning guidance covering seating layouts and cocktail table sizing, including the standard 1:6 to 1:8 high-top ratio and 36 to 48 inch aisle widths used across the industry. The 120-guest worked example follows a documented cocktail table planning model built specifically around that ratio. Zoning and flow guidance, including anchor points and the risks of wall-hugging furniture, is grounded in spatial-strategy thinking used across live events. Sensory recommendations on lighting and acoustic contrast reflect current multi-sensory event design practice.
Plan for one high-top table per 6 to 8 guests at a standard drinks reception. Tighten that to one table per 5 guests if food stations are causing people to linger longer than a typical mingling pace.
Keep clear circulation paths of at least 36 to 48 inches (0.9 to 1.2m) throughout the networking zone. The wider end of that range, 42 to 48 inches, lets two guests pass comfortably while both are holding drinks.
A 42 inch bar-height table is the industry standard for networking zones because it keeps guests standing and mobile, which shortens conversations and encourages movement. Mix in a few 36 inch counter-height tables near food stations for variety.
Position the bar towards the rear or side of the room, never directly opposite the entrance, so arriving guests get a clear decompression zone first. Keep at least 8 to 10 feet clear from the door before any furniture or activation.
Some event furniture suppliers offer space planning and styling support alongside their furniture rental categories, helping you match table counts and lounge zones to your headcount and format. Contact your supplier with your guest numbers and venue details to get a tailored recommendation.



 Delivery Fees
 Payment Methods
 FAQ