

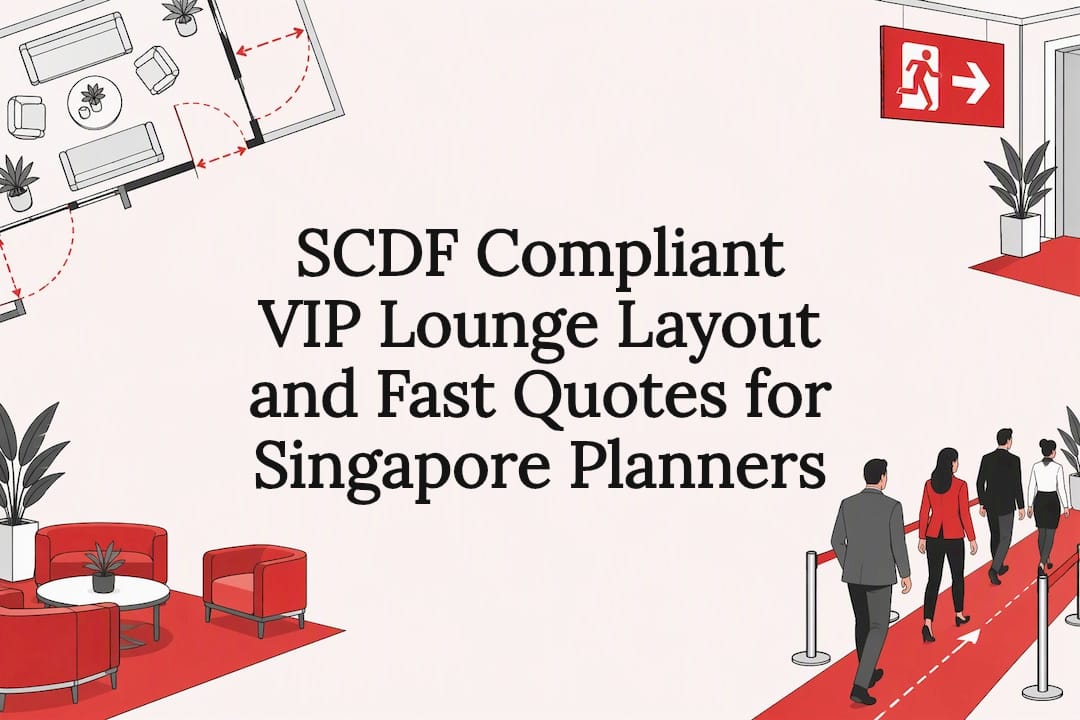
The best VIP lounge layout for a temporary event uses segmented zoning with conversational clusters of four to eight guests, each anchored by a coffee table, kept within clearances of 0.9 to 1.2 metres and aisles of 1.8 to 2.4 metres. Confirm venue and SCDF fire-safety constraints before furniture is ordered. Various event furniture and delivery services are available, and some platforms let you browse inventory and request quotes against your floor plan.
TL;DR:
- Clarify fire safety clearances, including a minimum of 1.2 meters for passageways and 0.5 meters below sprinkler heads, before arranging furniture.
- For events over 150 guests, create layered zones with distinct experiences, including VIP areas, cocktail corners, and service corridors, instead of one large space.
- Use modular sofas, accent chairs, and tables tailored to a 50-guest ratio, styled with rugs and soft furnishings to improve acoustics and comfort.
- Ensure layout access points, including entry and exit routes, are free of obstructions and tested at peak density for guest flow and safety.
- Obtain real-time inventory and pricing by sharing your floor plan and event details with a rental partner to prevent last-minute substitutions or clearance violations.
Every workable VIP area floor plan starts with numbers, not aesthetics. Get the clearances wrong and even beautiful furniture creates a bottleneck, a fire hazard, or both.
Primary aisles carrying heavy foot traffic need a clear width generally recommended between one and two metres. Around each seating cluster, leave close to a metre so guests can sit, stand and pass comfortably without knocking drinks off side tables. These two figures do more to shape a workable vip lounge layout than any styling choice.
Before you place a single sofa, anchor the plan to what’s already fixed: columns, the stage, the bar, fire exits, AV risers. Furniture moves around those points, not the other way round. Skip this step and you end up redesigning the whole footprint on-site when someone notices a pillar sits where the third cluster was meant to go.
Within that frame, conversational clusters of four to eight guests work best, each one built around a coffee table that gives people somewhere to rest a glass and a reason to stay put. Scatter chairs without an anchor piece and guests drift instead of settling in.
One layout mistake shows up again and again: VIP areas that feel cut off from the main event. A lounge that’s too enclosed reads as unwelcoming rather than exclusive.
Pro Tip: Walk your own floor plan at the scale you’ve drawn it, physically, before furniture arrives. Pacing out 1.2 metres feels very different from looking at it on a screen.
A VIP lounge setup for 40 guests and one for 400 are different design problems, not simply the same plan scaled up. Guest count should dictate zone count, not just furniture quantity.
Small events, under 50 guests. One central lounge cluster does the job. A typical mix runs one to two sofas, four to six accent chairs, and one to two coffee tables, arranged so every seat has a sightline to the rest of the group. There’s no need to zone further; a single well-anchored cluster reads as intimate rather than sparse.
Medium events, 50 to 150 guests. This is where zoning starts to matter. Split the footprint into three to six pods, blending modular sofas and accent chairs for seated conversation with four to six high-top tables for guests who want to network standing up. Place these pods so the bar sits within easy reach of at least two pods without funnelling all foot traffic through the seating.
Large events, 150 guests and above. Layer the space: a semi-partitioned VIP zone, one or two cocktail corners, and a clearly marked service corridor for catering staff that never crosses the main guest path. Layered zoning outperforms one large undifferentiated lounge at this scale because it gives guests distinct experiences and gives your team distinct, manageable spaces to service.
As a rough per-50-guest benchmark, budget one seating cluster and one to two high-top tables for every 50 attendees, then adjust once you know how many guests are expected to sit versus circulate. Keep bars and registration desks adjacent to entrances rather than buried inside the lounge itself. For layouts of this scale, a large-scale event planning guide covers how zoning interacts with exhibition-style footprints.
Each furniture category earns its place by doing a specific job, not just filling floor space. Get the roles right and the rental list writes itself.
Modular sofas form the backbone of any cluster and set the tone more than any other piece. Accent chairs fill out a cluster to its ideal four to eight guests without the bulk of a second sofa. Ottomans add flexible extra seating that can be repositioned mid-event. Coffee and side tables anchor each pod and give guests somewhere to land a drink or a phone. Bar counters and high-top tables handle the standing, circulating crowd that a purely seated lounge can’t accommodate.
For quantities, work from a simple per-50-guest ratio: roughly two to three sofas, six to eight accent chairs, three to four coffee or side tables, and two high-top tables per 50 attendees, adjusted for how much of your crowd will actually sit down.
Styling does the rest of the work:
Outdoor lounges need weatherproof fabrics and stable bases that won’t shift on grass or decking; indoor setups have more flexibility but still need slip-resistant feet on hard flooring. For configuration ideas that go beyond the basics, the lounge seating ideas guide has layouts planners have used for comparable footprints, and the private club lounge setup guide covers styling choices for premium hospitality spaces.
SCDF conditions aren’t a formality here. They actively decide where you can and can’t put furniture, and they override any layout that looks good on paper but blocks an exit.
For indoor set-ups, passageways must stay at least 1.2 metres clear, furniture and structures must keep 0.5 metres below sprinkler heads and 1.5 metres from fire protection systems, and any booth or tent structure caps out at 3-metre in height. Outdoor tentage follows its own limits too, including keeping structures at least 3 metres from building facades and maintaining the same 1.2 metre minimum passageway width.
No VIP zone should be a fully enclosed room with a single entry point. If it impedes evacuation, it doesn’t get built, however good it looks in the render.
A single figure worth remembering: SCDF sets a hard 3 metre maximum on booth and tent height for temporary event structures, indoors and outdoors. That number alone rules out taller partition ideas that otherwise seem workable.
A good vip lounge floor plan is only half the job. The other half is getting it delivered, built, and dismantled without anyone noticing the effort behind it.
The most common failure points are predictable: over-ordering furniture that then blocks a fire exit, and last-minute substitutions that throw off clearances calculated for a different piece. Both are avoidable with a walk-through before the final order is locked.
Pro Tip: Book your delivery slot before you finalise styling details, especially if you need expert accommodation and logistics support for your event, as offered by Location appartement congrès Cannes | Blue View Cannes. Delivery windows fill up faster than styling decisions, especially during peak conference and gala season.
Turning a floor plan into a physical space depends on inventory that’s actually available on your date, not just pictured on a website. Events Partner supplies the core pieces a VIP lounge needs: modular sofas, coffee and side tables, bar counters, and accent seating, backed by delivery, setup and teardown.
The Partner™ platform lets you browse that inventory against your own layout and request a quote directly, rather than emailing back and forth over availability. One representative piece worth knowing is the Nimbus™ Lounge Forma - Left Corner, a modular corner sofa suited to anchoring a cluster in exactly the way described above.
When requesting a quote, come prepared with:
A rental partner offering on-site styling resolves the small layout issues that only show up once furniture is actually in the room. For the full service overview, see event furniture rental.
Sound behaves differently in a lounge than on a main event floor, and a layout that ignores acoustics undermines the exclusivity it’s meant to create. Hard flooring, open ceilings and proximity to a stage or DJ booth all amplify noise bleed into a space meant to feel calmer and more private.
Soft furnishings do more acoustic work than most planners expect. Upholstered sofas, cushions, rugs and drapery all absorb sound rather than reflecting it, which is one reason a lounge fitted with hard bar counters and bare flooring feels louder than one layered with rugs and soft seating. Positioning the VIP zone away from direct line-of-sound to speakers, rather than just visually screening it off, cuts a surprising amount of ambient noise before any acoustic treatment is needed.

Low partitions and planting, already useful for privacy, also help break up sound travel between the lounge and the main floor without creating the sightline problems a full wall would cause. If the venue allows it, positioning the lounge in a corner or alcove rather than in the direct path between stage and bar reduces bleed-through further.
For events with speeches or presentations happening near the VIP zone, keep cluster conversations from competing with the AV feed by leaving a genuine physical gap, not just a partition, between the lounge and any speaker zone. Guests notice quickly when they have to raise their voice to be heard over their own event.
An accessible VIP lounge isn’t a separate design exercise bolted onto the main plan. It’s the same clearance rules, applied consistently rather than only where it’s convenient.
Aisle widths of 1.8 to 2.4 metres already accommodate wheelchair users comfortably, provided they aren’t narrowed by trailing cables, signage stands or overflow seating pushed into the walkway. The 0.9 to 1.2 metre clearance around each cluster needs the same consistency. It’s easy to leave that clearance on paper and then lose it in practice once cushions, bags and extra chairs creep into the gap.
Seating height matters more than it gets credit for. A mix of standard-height sofas alongside slightly higher accent chairs or firm-seated options gives guests with mobility limitations an easier route to sit and stand without needing help. Avoid clustering only low, deep lounge seating, which can be genuinely difficult for some guests to get out of.
Entry points deserve particular attention. If the main VIP entrance involves a step, a ramp or clear alternative route needs to exist and be sign-posted, not treated as a workaround. The same applies to any raised platform or staging within the lounge itself.
Finally, keep at least one accessible route to the nearest accessible restroom clear of furniture at all times, and confirm it during your walk-the-plan test rather than assuming it holds once the space is styled and populated.
Guest flow determines whether a beautifully arranged lounge actually works once people are in it. Map the path before you finalise furniture position, not after.
Start with entry and exit points as fixed constants, then work the layout around them. A single entrance creates a pinch point once the lounge fills up; where the venue allows it, a separate entry and exit reduces congestion considerably, particularly for events expecting more than 150 VIP guests. Registration or check-in, if there is one, belongs close to the entrance and clearly outside the main circulation path, so guests aren’t queuing across the route into the lounge.

Once guests are inside, the flow should draw them past the bar or a visual focal point before they settle into a cluster; a lounge that puts seating immediately at the entrance discourages the natural circulation that keeps early arrivals from clustering right at the door. Service routes for catering staff and AV crew need their own lane, ideally never crossing the main guest path at all.
The walk-the-plan test, mentioned earlier for logistics, is exactly where flow problems surface. Standing in the space at expected peak density reveals whether the exit route stays clear once every cluster is occupied and every high-top table has guests standing round it, something no floor plan drawing can fully predict.
Once your floor plan is sketched out, the fastest way to firm it up is to get real inventory and pricing against it, rather than guessing what’s available.

Events Partner works from real, current inventory rather than a catalogue of items that may or may not be in stock on your event date, which matters most in the final weeks before a launch or gala when substitutions are hardest to absorb. To get a quote moving quickly, have your venue plan, guest count, event timings, loading access details and any known fire-safety constraints ready.
Browse sofas and love seats and coffee and side tables to start building your cluster list, or check cocktail and bar tables if your layout includes a standing-networking zone. Delivery and setup fees are itemised on the delivery and setup pricing page, so there are no surprises once your order is confirmed.
Request a Partner™ quote through event furniture rental with your floor plan attached, and Events Partner’s team can flag clearance or availability issues before delivery day, not after.
Primary aisles need 6 to 8 feet (1.8 to 2.4 metres) for heavy traffic, and each seating cluster needs 3 to 4 feet (0.9 to 1.2 metres) of surrounding clearance. These figures apply whether the lounge is indoors or outdoors and shouldn’t shrink once styling elements are added.
Conversational clusters work best with four to eight guests, anchored by a coffee table so the group has a natural gathering point. Smaller groups feel sparse, and larger ones tend to split into sub-conversations anyway.
You typically need Qualified Person endorsement or a formal plan submission when a temporary structure or layout could affect fire safety compliance, such as booth heights approaching the 3 metre SCDF limit or layouts involving enclosed spaces. Check with your venue and SCDF requirements early, since approvals take time to process.
A solid brief includes your venue floor plan, expected guest count, event timings, loading and access restrictions, and any known fire-safety constraints. Events Partner uses this information through its Partner™ platform to match inventory and confirm a quote quickly, with details available at event furniture rental.
Yes, Events Partner offers space planning and styling support alongside furniture rental, delivery and setup. Pricing for delivery and setup is itemised on the delivery and setup fees page, and styling scope is confirmed as part of your quote.



 Delivery Fees
 Payment Methods
 FAQ